



How to Achieve a Premium Feel in Automotive Interiors – Avoiding Cheap Conversion Pitfalls


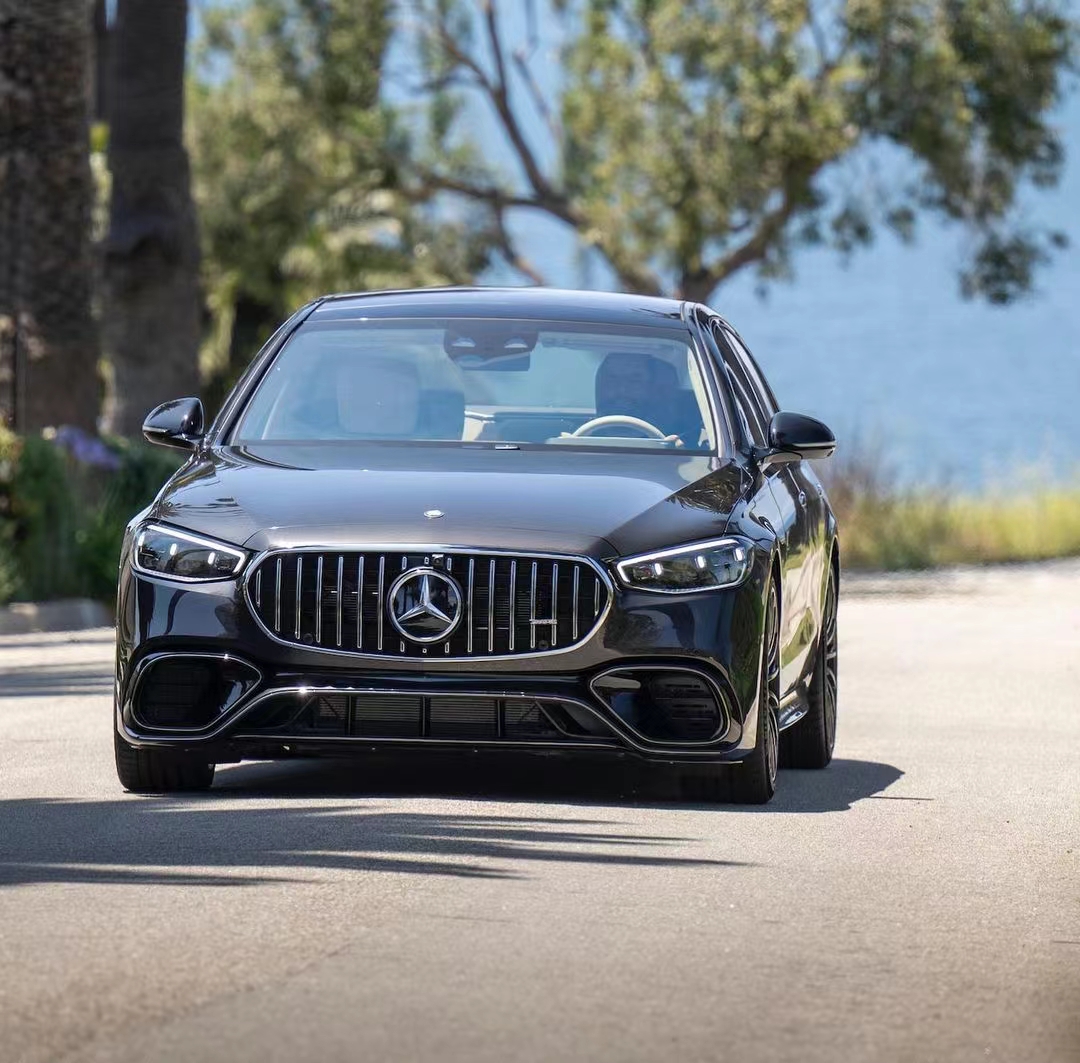
Upgrading your vehicle's interior is meant to enhance comfort and taste, yet many owners end up in an awkward situation after the conversion: money spent, but the car looks "cheaper." For example, seat leather cracks and sags within a year, floor gaps are wide enough to fit a finger, a pungent glue smell lingers in the cabin, and rattles develop everywhere after a few months. The root of these problems is often not the owner's lack of taste, but falling into the traps of cheap conversions.
So how do you distinguish true "premium" interior conversions from those that appear cheap but are actually costly in the long run? This guide breaks down the truth from four dimensions: materials, craftsmanship, design, and installation.
Trap 1: Passing Off "Synthetic Leather" as Nappa Leather
Genuine leather is the most common pitfall in interior conversions. Many workshops use low-grade synthetic leather or even PU leather, marketing them as "imported genuine leather" to unsuspecting owners. These materials may look acceptable when first installed, but problems emerge quickly – no natural pores, poor breathability, causing back sweat in summer; a heavy surface coating, stiff and slippery feel, lacking the warmth of genuine leather; poor abrasion resistance, leading to wear, fading, and cracking within months.
How to avoid it?
Genuine full-grain Nappa leather comes from high-quality hides sourced from high-altitude pastures in Northern Europe – dense, with fine pores. After light finishing, it retains its natural grain. Pressing it with your finger creates natural wrinkles that recover when released – something synthetic leather cannot replicate. More importantly, ask for the leather brand and grade – don't settle for vague terms like "genuine leather." Reputable conversion packages will clearly specify "full-grain Nappa leather" and provide leather samples for confirmation.
Trap 2: Rough Stitching and Lifting Edges – Craftsmanship "Off by a Mile"
Premium interiors often win in the details. Stitch density, edge finishing, and perforation precision – these seemingly minor details are precisely what set the best apart from the rest.
Common issues with cheap conversions include: uneven, crooked stitching with loose threads; leather that does not conform to seat side bolsters and corners, wrinkling or lifting; ventilation perforations that vary in size and spacing – looking obviously "aftermarket." The true craftsmanship standard should be: consistent stitch density – stitches per inch uniform throughout, with smooth transitions at corners; all perforations made with high-precision tooling – consistent diameter and spacing; leather fully stretched and shaped during wrapping – edges fitting tightly.
How to avoid it?
Before committing to a conversion, ask to see detailed photos of completed projects – focus on corners, stitching, and perforations. If the shop only shows wide-angle shots and avoids close-ups, be cautious.
Trap 3: Glue Odours and Electrical Hazards – The Hidden Dangers
This is perhaps the most insidious and dangerous trap in cheap conversions. To cut costs, some workshops use low-grade adhesives for panel bonding and leather wrapping. The pungent smell immediately after installation is a sign of excessive benzene and formaldehyde – harmful to health with prolonged exposure. In contrast, proper craftsmanship uses water-based eco-adhesives or hot-melt adhesives with very low VOC emissions.
Electrical work poses another hidden risk. Aviation seats, ambient lighting, electric running boards – all involve electrical modifications. Cheap conversions often splice directly into the original wiring harness, omit dedicated fuses, and wrap connections with electrical tape. Over time, insulation degrades, leading to short circuits or even fire. Proper electrical work should use independent wiring with a dedicated fuse box, with connections terminated using heat-shrink tubing or specialised terminals – no bare wire splices. If side airbag deployment paths are blocked during steering wheel or seat modifications, the airbags may not deploy in an emergency – with potentially fatal consequences.
How to avoid it?
After the conversion, before taking delivery, do two things: Smell – is there any pungent odour in the cabin? Check – ask to see the fuse box and wiring layout – confirm independent wiring and that all fuses are in place. Also, request the workshop to provide environmental test reports and product safety certifications for the adhesives used.
Trap 4: Cluttered Design – More Than Three Colours Is Not "Premium"
The problem with many cheap conversions is not materials – it is taste. Clashing colours, excessive elements, conflicting styles – opening the door feels like stepping into a "KTV lounge" – lacking any sense of refinement.
True premium interior design follows a few basic principles: no more than two primary colours – a third colour should appear only as a subtle accent; materials should be paired logically – leather, Alcantara, metal, and wood trim should transition and complement each other, not be randomly thrown together; style should be consistent – either business-like sophistication, modern technology, or warm family comfort – never a mismatched blend.
How to avoid it?
Before starting the conversion, define a clear stylistic direction. Refer to the interior colour schemes of high-spec factory models as a benchmark – don't blindly chase "uniqueness." A professional customisation team will provide renderings or colour swatch proposals for approval before starting any work – not simply begin installation.
Trap 5: No Pre-Fitment, No Protection During Disassembly – Rattles After Installation
This is not a "visible" problem, but the consequences are the most frustrating. Cheap conversions often rush the process, skipping the pre-fitment stage. If a seat is slightly off-size, it is forced into place – resulting in track binding and rattles. During disassembly, care is not taken – original clips are broken and glued back, leading to inevitable loosening. After installation, there is no road test or adjustment – bolts are not torqued to specification – and within a few kilometres, rattles begin.
How to avoid it?
When evaluating a conversion package, ask two key questions: "Does this seat require a dedicated mounting bracket? Is it a non-destructive, original-position installation?" If the shop is evasive, they are likely using universal parts that require force-fitting. Also, after installation, request a road test – drive at least 20-30 kilometres over rough roads and speed bumps – and only sign off once you confirm there are no rattles.
Four Core Standards for a Premium, Light-Luxury Cabin
1. Unified Interior Style – Reject Mismatched Clutter
2. Choose Premium, OEM-Grade Materials – Refined and Durable
3. Non-Destructive, Precision Craftsmanship – Details Define the Standard
Many conversions fail not because of materials but because of poor craftsmanship. True high-end conversions use 1:1 OEM-grade tooling – full, even upholstery, consistent stitching, smooth edge finishing – with no gaps, lifting, or exposed edges on door panels, pillars, or armrests. Wiring is neatly routed and securely fastened – eliminating the rattles, loosening, and misalignment common in cheap conversions.
4. Features Selected by Need – Restrained, Not Redundant
A premium cabin never piles on features – it serves real-world use cases. Eliminate flashy, rarely used extras – keeping the layout clean and uncluttered – reducing long-term failure rates while maintaining a minimalist, refined aesthetic – balancing practicality with quality.
"True premium is a commitment to quality, not a compromise on price." Rather than cutting corners and facing costly rework, invest in a professional team with a proven track record, genuine capability, and rigorous quality control.
RELY AUTO – a professional brand with years of experience in high-end interior customisation – offers 1:1 tooling capability, ensuring all components – seats, flooring, trim panels – achieve precise OEM-grade fitment and non-destructive installation – eliminating rattles and safety risks from the start. Materials are genuine Nappa leather, Alcantara, carbon fibre, and rare wood veneers – all fully customisable in colour and pattern. With one-stop kit supply – from individual seats to complete interior packages – covering mainstream premium platforms including the G-Class, BMW, V-Class, and Sprinter. All products carry national 3C safety certification and VOC environmental testing. Electrical systems are independently wired with dedicated fuses – ensuring every detail meets both safety and quality standards. Choosing such a professional partner ensures your conversion is a reliable upgrade – not a regretful gamble.
Related News
-
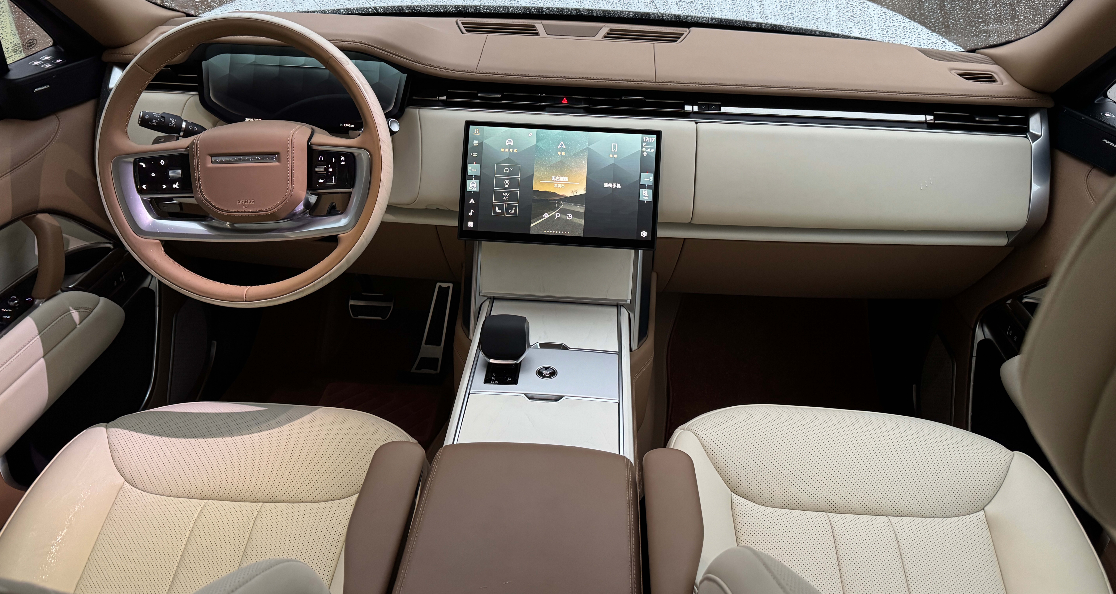 After this complete upgrade, the transformation is striking. The exterior retains its composed business presence, while the interior has shed its utilitarian, cheap feel – unified in quality, refined in detail, and supremely comfortable.
 -
 how do you distinguish true "premium" interior conversions from those that appear cheap but are actually costly in the long run? This guide breaks down the truth from four dimensions: materials, craftsmanship, design, and installation.
 -
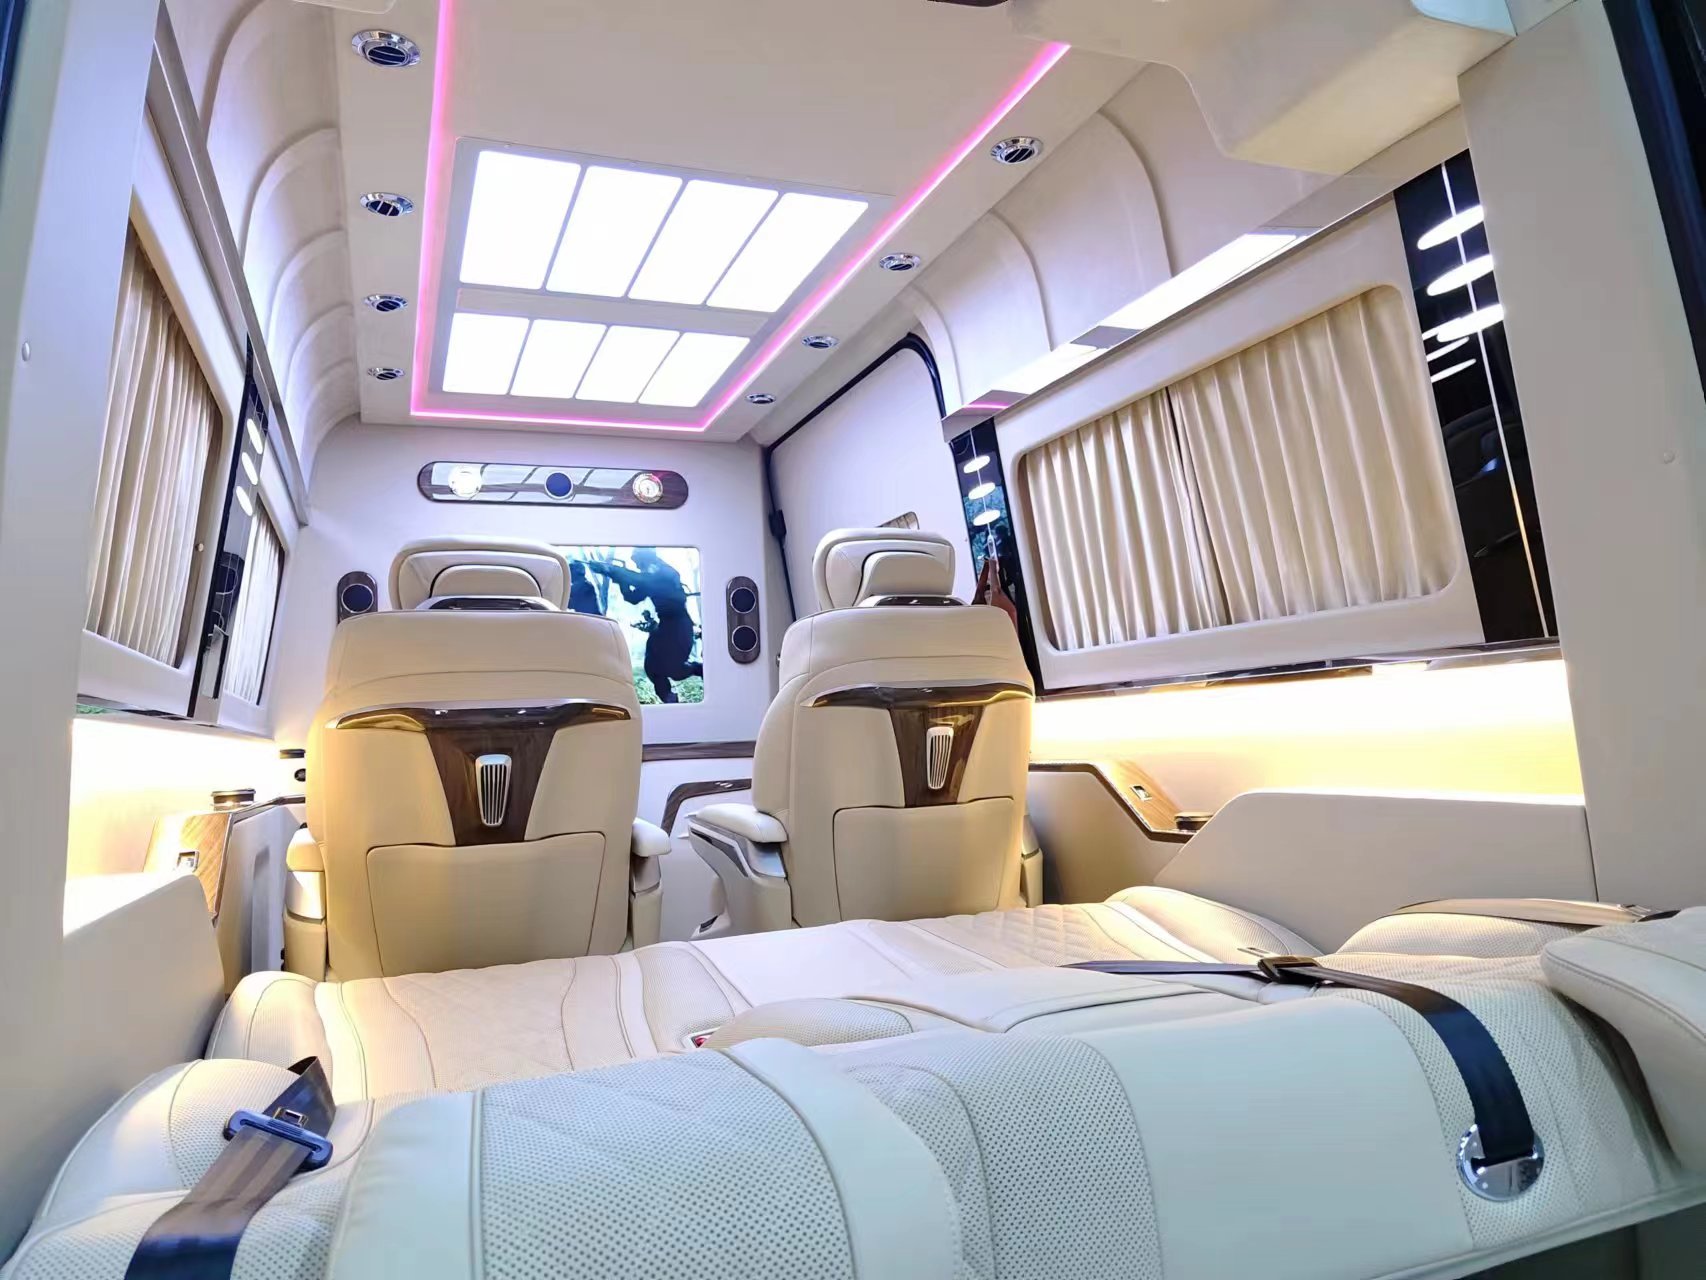 A carefully restored and upgraded off-road vehicle embodies a perfect fusion of two characters: it retains the hard-core capability to conquer the wilderness – durable materials, washable flooring, and vibration-resistant craftsmanship – while offering the refined comfort of a luxury cabin – Nappa leather, Alcantara headliners, aviation seats, and ambient lighting.
